We all love a good DIY project – the painting, buying new pieces or just finding cute things for decor. But for most of us, halfway through a makeover is when reality hits. The dust. The indecision. The mess that seems to double overnight.
The truth? A stress-free makeover isn’t about luck or talent. It’s about planning. The most beautiful rooms you see in magazines or on Instagram didn’t come together through guesswork. Someone thought through every step – what to keep, what to clear, when to paint and where to spend.
So before you reach for the roller, take a pause. Start with setting a clear goal, choosing the palette for the room, map the order of work, and clear the room. As renovation budgets rise to 26%, these tips will make the end result feel smoother, faster and kinder to your budget.
Let’s walk through how to plan a room transformation that feels effortless from start to finish, so you can enjoy the creative part without the chaos.
Define the Brief and Lock your Pre-start Checklist
Give the room a one-sentence purpose. For example, “A light, restful bedroom with better storage.” List three must-haves and three nice-to-haves, and work your budget around it. Note non-negotiables like dimensions, daylight, and any pieces you will keep. If you have pieces that don’t serve a purpose or could work in a different room, place it in storage, donate or discard it.
Before you begin, here’s a simple checklist to get your makeover on the right path:
- Goal set, rough plan drawn, palette picked.
- Budget split with a 10% contingency.
- Skip and charity collection arranged.
- Materials on site 24 hours before start.
- Safety gear ready.
Once you have these in place you can move on to choosing colour, fabrics, materials and furniture pieces.
If you are struggling with designing a room or creating a plan, work with o Contemporary to design rooms that are as functional as they are beautiful.
Map the Space, then Choose Colours and Materials
Grab a tape measure and note down dimensions of every wall, window, door, and ceiling height. It sounds dull but it’ll save you from buying furniture that doesn’t fit. Then sketch a quick floor plan and mark high traffic lines and storage areas with painters tape.
Make a simple moodboard with a couple of palettes and layouts. Pick one within a day so you don’t spiral into Pinterest limbo.
Pro tip from designers: don’t just rely on the swatch card. Paint big patches on three walls and check them in daylight and evening light. Select one that best fits your vision for the room and works well with the overall design.
If you still need help choosing colours check out this guide on the trending colours in contemporary interiors and furniture.
Budget and Scope Control
Money stress kills motivation faster than bad paint.
Set a total budget and split it by percentages for different sections. Get a few quotes for anything over £200 and freeze scope once you place orders. You can create a final budget once you have prices in place.
- 60% on materials and trades
- 20% on fixtures
- 10% on styling
- 10% as contingency
Costs tend to increase with changes. Materials have risen over 30% since 2019, so a solid plan keeps you in control. A fixed scope reduces surprises.
Create a Timeline And Sequence For the Project
Put everything in order: declutter, repairs, prep, paint, floors, furniture and styling. Create a micro plan for certain tasks. For instance, with painting – cut in, first coat, dry, second coat, cure.
A small daily routine helps too – end each day by labelling lids, bundling waste, and giving the room a quick sweep. It makes the next morning easier.
Add delivery lead times and block tasks by day. Add buffer days because something always takes longer than planned.
Clear the Space and Make it Safe
Get everything out. Protect the floors. Label boxes so you’re not digging through mystery piles later. Fill, sand, and dust before you paint.
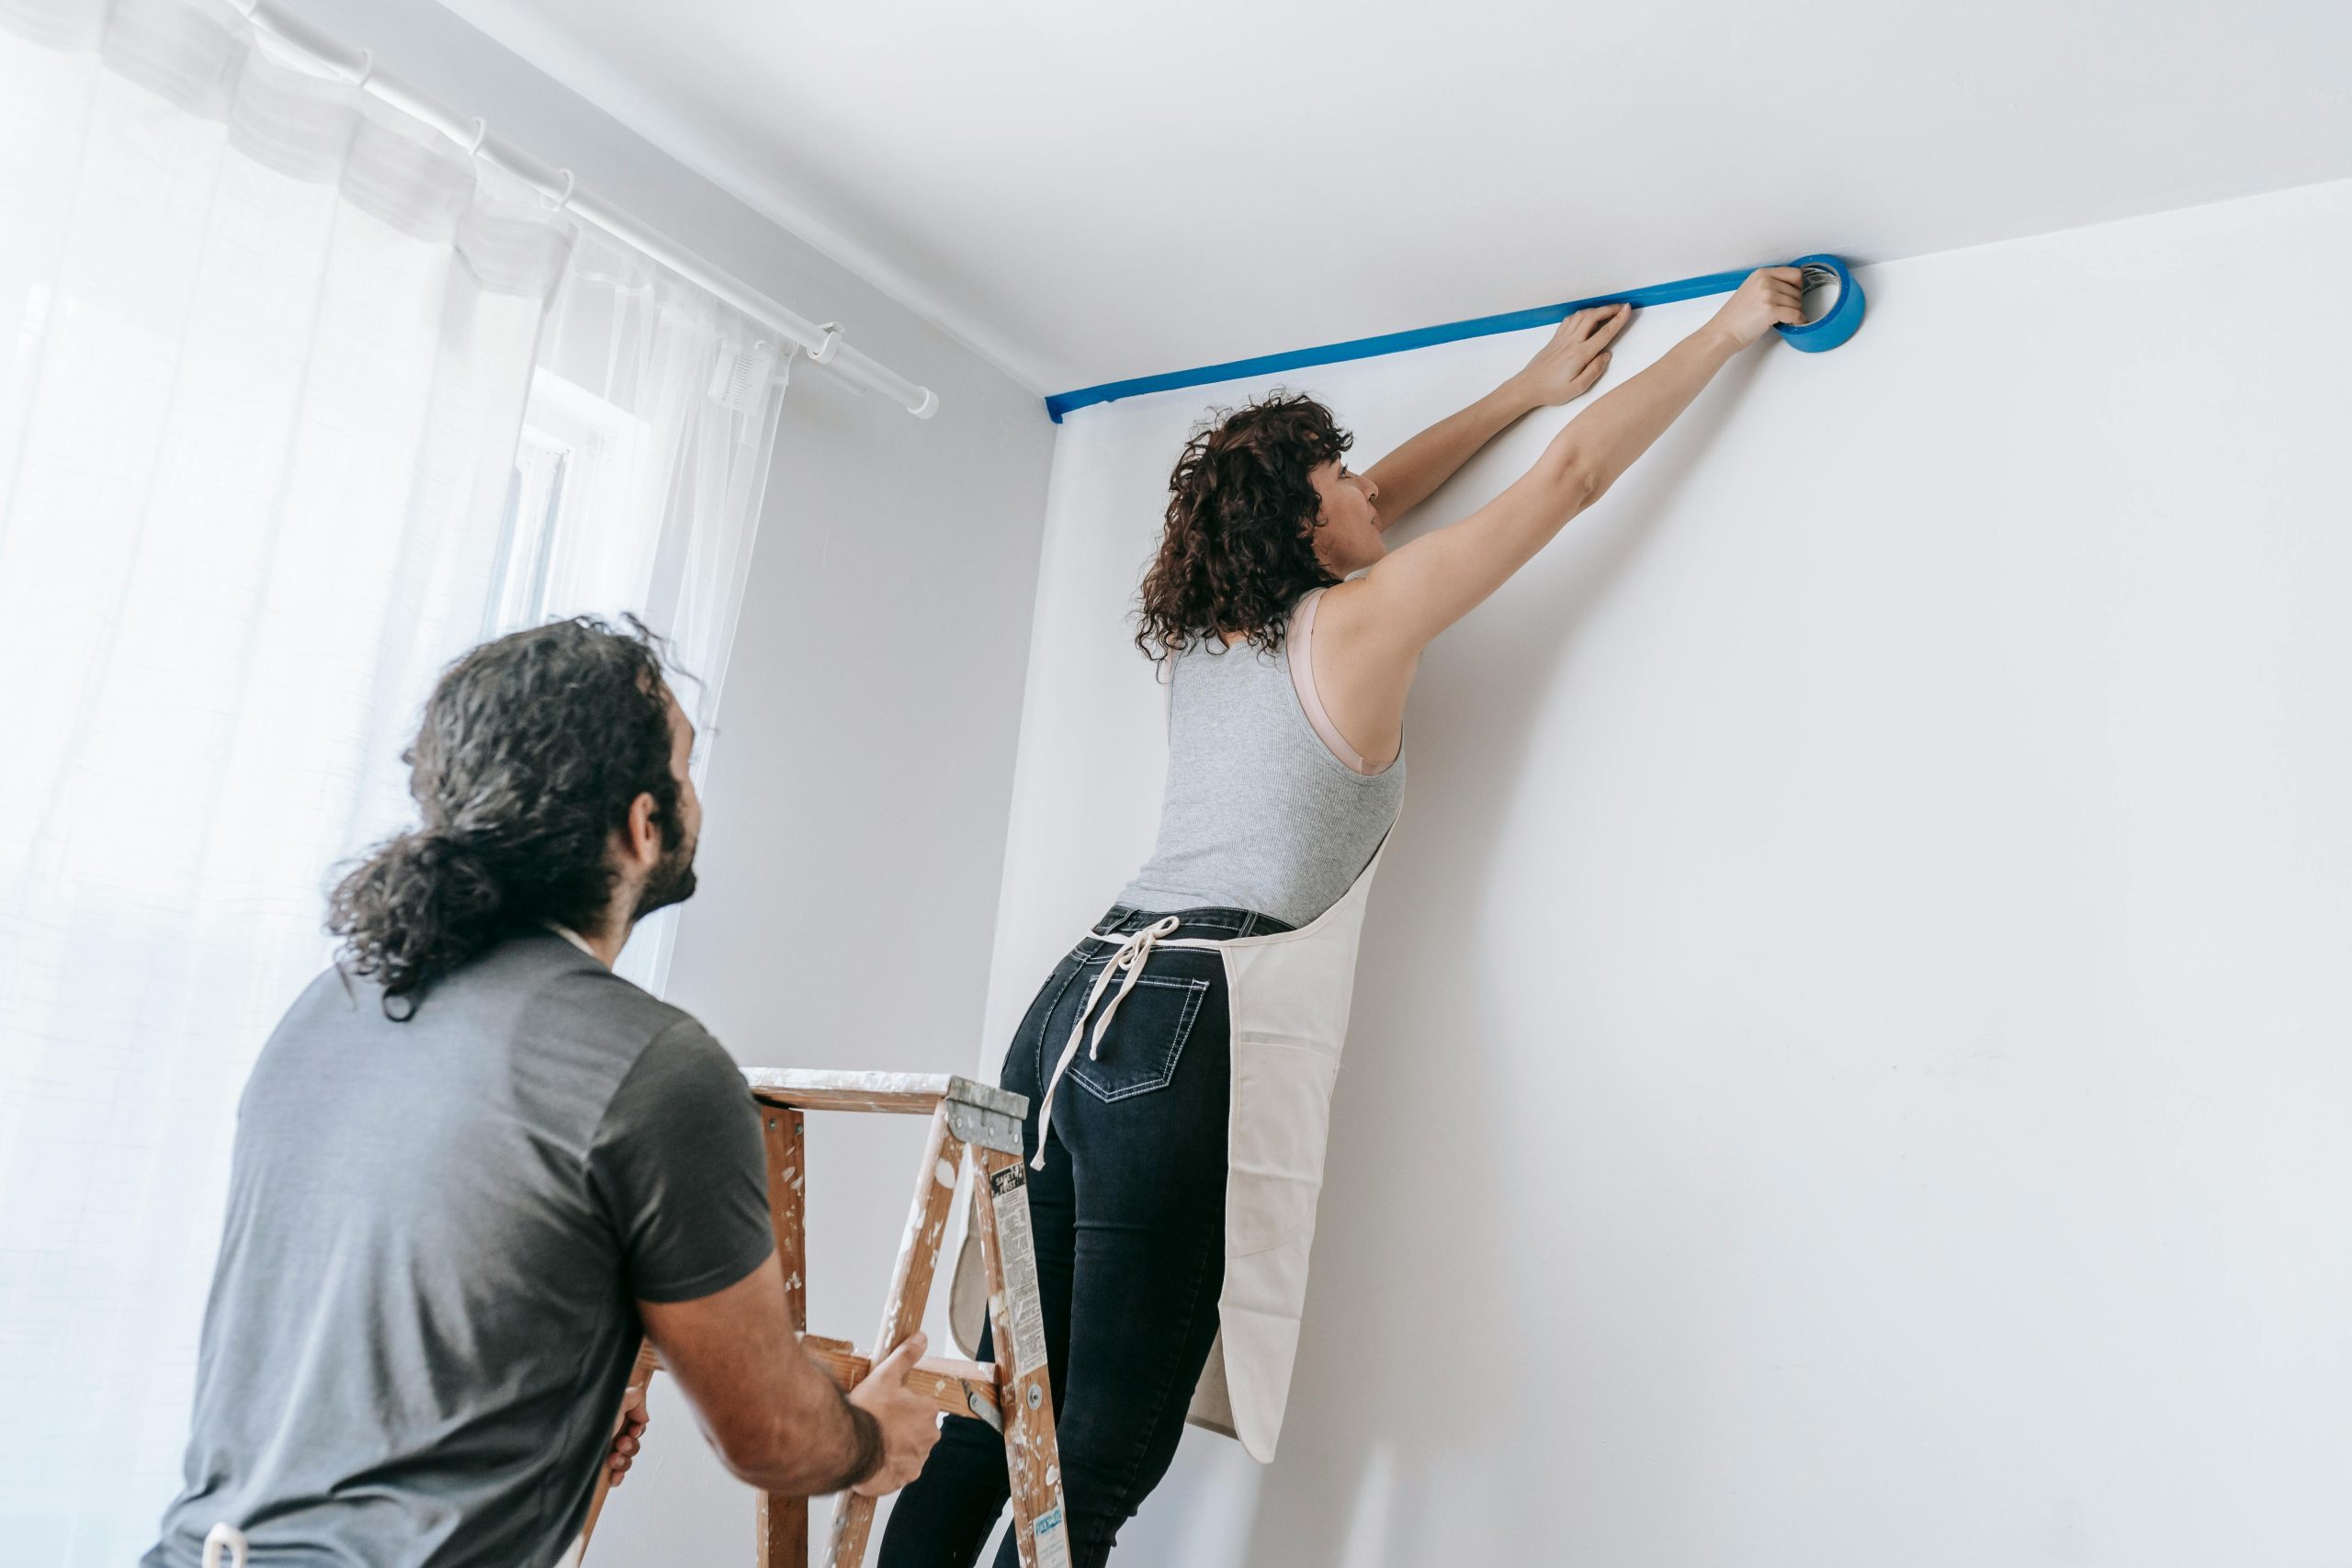
And don’t forget safety. Most DIY injuries come from ladders, not power tools. Keep them steady, take your time, and wear a mask when sanding.
A smooth makeover starts with a clean, empty space. Before you begin painting or moving furniture, take the time to clear out old items and debris. Hiring a skip from Proskips is an easy way to handle the mess in one go, leaving you with a fresh canvas to design from.
Paint, Floors, then the Fun Stuff
Work from the top down: ceiling, walls, trim. Leave the floor until last, then move to lighting and furniture.
Once the work’s done, take a breath. Don’t rush to fill every surface. Pick one statement piece per area – a bold lamp, a framed print, a plant. Group objects in threes and mix textures. Then stop. Let the space breathe.
Common Pitfalls and Quick Fixes
- Scope creep: Prevent it with a written brief and a freeze date.
- Paint regret: Use A4 sample boards and live with them for a day.
- Delivery delays: Keep backup choices listed with codes and lead times.
- Waste build-up: Pre-book a skip and set recycling sacks before any work begins.
- Rushing safety: Three points of contact on the ladder, and a helper for high jobs.
Bring it all Together
A stress-free DIY makeover begins on paper. Write a clear brief, map the space, choose your palette, and set a simple budget split with a small contingency. Plan the sequence, clear the room, and gather tools and materials before day one.
When you plan first and do later, you feel calmer through every step. You finish faster. Most of all, you end up with a room that feels like you.